
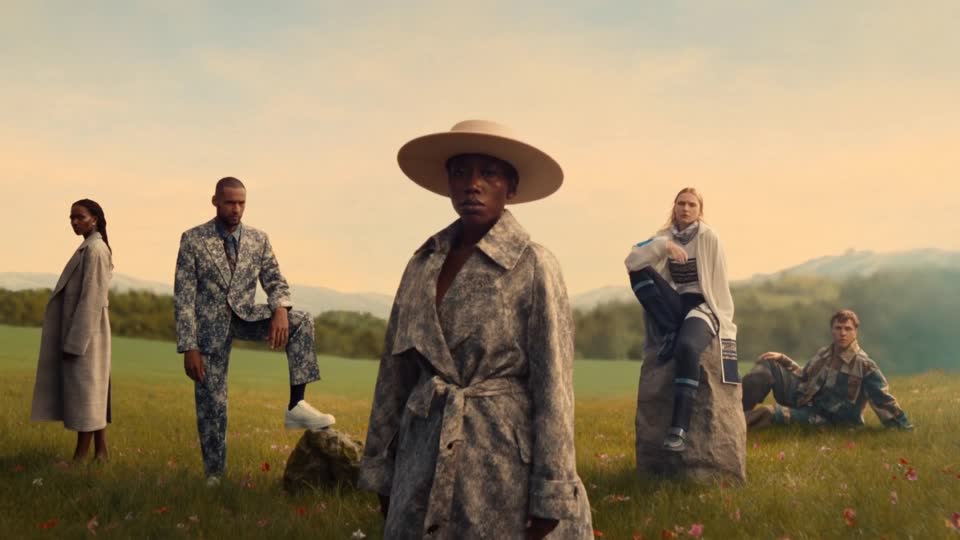
Approve the image and its crop first. Enlarge it for a defined use, then check the details that must survive.
1. Start with the final use.
Upscale an AI image when an approved composition needs more pixels for its intended use and the enlarged result can survive a careful review. First establish the required crop, output dimensions and details that must remain unchanged. If the composition is wrong or the source misrepresents the subject, making the file larger will not resolve the underlying decision.
A useful brief says where the image will appear and what the viewer needs to recognise. A full-width website image, a narrow mobile crop and a printed poster ask different things of the same source. Get the delivery specification from the team producing that placement. Avoid selecting the largest available export simply because the tool offers it.
For a digital placement, record the required pixel dimensions and check the actual display context. For print, ask the printer for the required dimensions, resolution and production specifications at the intended physical size. A resolution value in the file's metadata alone does not tell you whether the image contains enough useful detail.
Our recommendation is to separate three questions: is this the right image, does the final crop work, and does it have sufficient usable resolution? Those decisions should inform the scope of an AI production quote. They are more useful than a promise to deliver every concept at a maximum size.
2. Calculate resolution after the crop.
A wide source can contain plenty of pixels while leaving relatively few in a vertical selection. Calculate using the portion you intend to keep, not the dimensions of the original file. Upscaling cannot put a subject back inside a crop that has already excluded it.
FICTIONAL DELIVERY EXAMPLE
One landscape image, two proposed placements
Imagine an uncommissioned campaign with a 1600 × 900 source. The team requests a 1600 × 900 landscape image and a 1080 × 1920 portrait image. These are illustrative delivery sizes, not platform requirements. This is a calculation, not an upscaling experiment.
| Placement | Pixels retained before enlargement | Required output | Decision |
|---|---|---|---|
| Landscape, full frame | 1600 × 900 | 1600 × 900 | No enlargement needed solely to meet these dimensions |
| Portrait, using full source height | About 506 × 900 | 1080 × 1920 | About 2.13× enlargement in each dimension, if this crop works |
| Portrait, important subject excluded | Resolution is secondary | 1080 × 1920 | Choose another composition or plan a separate adaptation |
The portrait calculation is 900 × 9 ÷ 16 = 506.25 pixels wide before rounding to whole pixels. Scaling its height from 900 to 1920 requires a factor of roughly 2.13. The output has about 4.55 times as many pixels as that cropped region, but the larger pixel count is not evidence of 4.55 times more authentic detail.
Before doing that enlargement, preview the proposed crop at its intended size. If the crop removes a second person essential to the composition, the production problem is framing. An alternative source, a new composition or a separately approved extension may be appropriate. Decide that first; do not spend finishing time rescuing the wrong selection.
3. Decide what may change.
There is a meaningful difference between increasing dimensions and inviting the model to reinterpret texture. For an expressive background, a degree of invention may support the art direction. For a recognisable garment, product, face or piece of lettering, a newly invented detail may invalidate the image.
Magnific's documentation distinguishes Creative mode, which can add and reinterpret detail, from Precision mode, which it positions for more faithful enlargement. Its Creative controls include Creativity and Resemblance. Those are the vendor's descriptions of the intended behaviour, not proof that an individual output preserves every important feature. Source: Magnific Image Upscaler documentation.
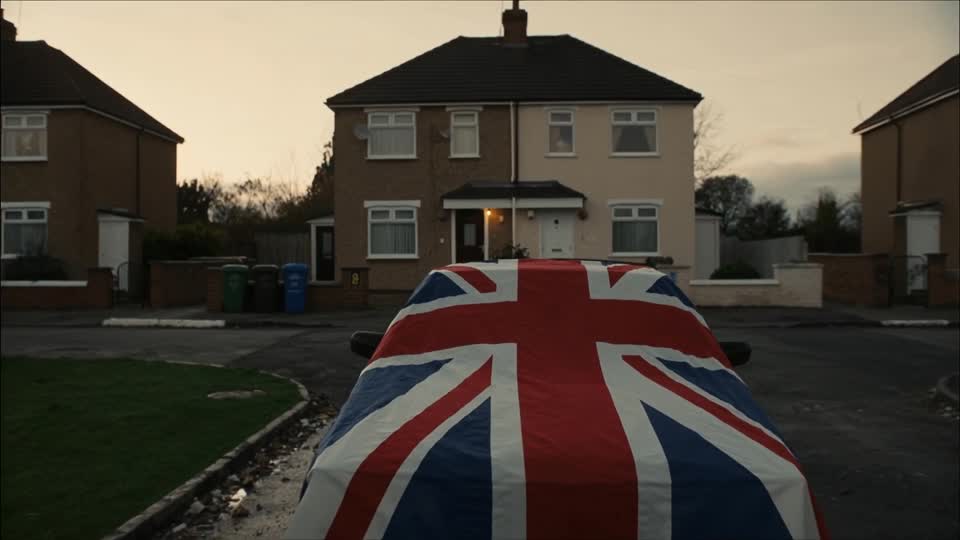
Write down protected features before processing. For the flag-draped car above, a useful review would include the pattern's geometry and the outline of the vehicle. For fashion imagery, it could include the cut of a garment, seams and printed motifs. The purpose is to identify what must be compared, rather than accepting anything that appears sharper.
Keep creative exploration separate from an approved master. If an enhancement creates an attractive but different surface, treat it as a new creative option requiring review. Do not overwrite the approved source or silently label the interpretation as a higher-quality copy.
4. Start from the best available source.
Find the original export before enlarging a downloaded preview, screenshot or compressed messaging attachment. Preserve it as a separate file. Record which crop and corrections have been approved, and identify any fault already present in the source. This prevents an existing defect from being confused with a new enhancement problem.
Check whether the image needs a structural correction before a resolution increase. An incorrect hand, a broken object or unreadable copy deserves its own decision. An upscaler may change how those areas look, but that does not establish that they are now correct. Important text is often better handled as controlled typography in the final composition.
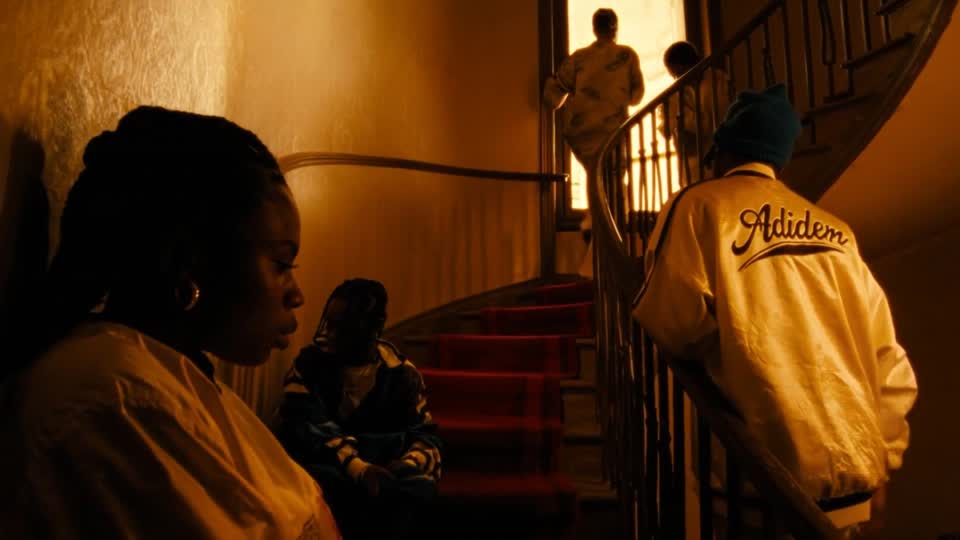
Agree where finishing belongs in the workflow. If accurate lettering or product artwork is supplied separately, retain those approved assets and review the composite at delivery size. Save an editable master where the scope requires one. This gives the next person a clear distinction between source imagery, corrections and final output.
Berlin's Lauktien Studio presents AI imagery alongside retouching and describes manual finishing on a published key visual. This is a studio's own account of its work, not a benchmark of upscalers. The useful lesson for a buyer is to include finishing in the production plan rather than assuming resolution processing completes the image. Source: Lauktien Studio's production overview.
5. Review detail at two scales.
Review the processed file both at a pixel-level view and in the intended placement. A close inspection can expose changed edges or texture; the placement view shows whether those changes matter to the overall image. Neither view replaces the other. Keep the original visible beside the candidate and compare corresponding areas.
Start with the protected features, then inspect transitions: hair against background, fine fabric edges, reflective surfaces, repeated patterns and small lettering. Look for invented features, brittle outlines, exaggerated texture or smoothing that erases the intended material. Record specific locations so a revision has a clear purpose.
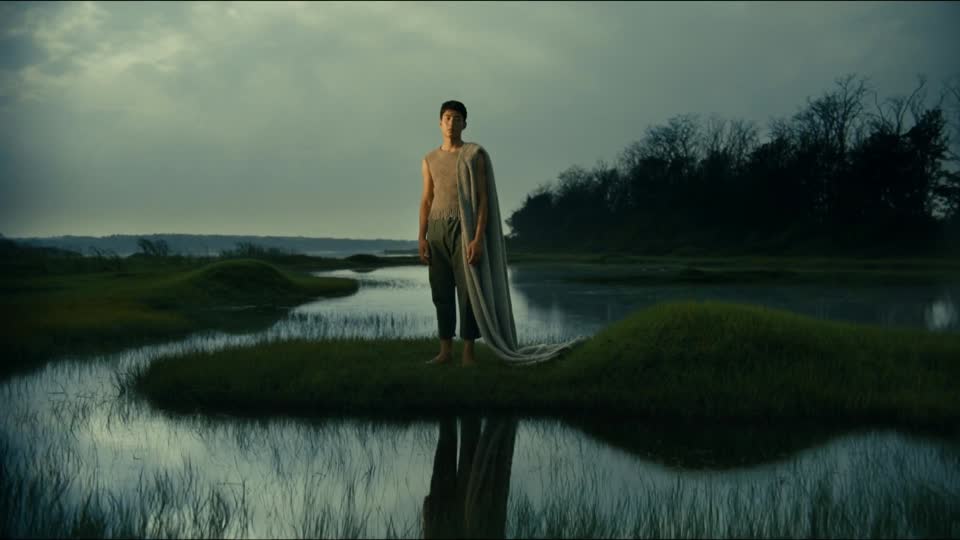
The wetland reference makes an important creative point: not every part of an image should compete for sharpness. If the distance becomes as insistent as the foreground, the enhancement may change the visual hierarchy. Judge it against the intended depth and atmosphere, not only against a general preference for more visible texture.
In the fictional portrait delivery, review the enlarged crop with its proposed headline and any required logo in place. If the file meets 1080 × 1920 but the important subject still looks unconvincing at the intended display size, the delivery has not passed. Try a more restrained process, controlled correction or a better source. Log the reason for rejecting the candidate.
6. Deliver an approved image, not just a large file.
The master and the placement export serve different purposes. Keep the approved master, then produce the required crop, file format and compression for each delivery. Reopen the exported file and inspect it: the file sent to the client or uploaded to the site is the one that needs to pass review.
For a website, test the image in the actual page on desktop and mobile. A larger master does not mean every visitor needs to download that master. For print or display production, follow the supplier's final specification and proofing process. Keep unresolved requirements visible rather than guessing a universal setting.
- Purpose: placement and final dimensions are recorded.
- Composition: the approved crop contains the necessary subject and space for copy.
- Fidelity: protected features have been compared with the source.
- Texture: detail supports the intended material, depth and mood.
- Export: the actual delivery file has been reopened and reviewed.
- Provenance: source filename, tool, known settings, corrections and approval version are saved.
That record makes a future adaptation easier to assess. It also prevents an exploratory enhancement from being mistaken for the approved image. For the wider sign-off process, use our guide to approving AI campaign imagery.
The decision is practical: upscale when resolution is the remaining obstacle and the result preserves what matters. Rework or replace the source when the obstacle is composition, accuracy or intent. Nightwolf's creative production and finishing capabilities can be scoped around those actual delivery needs.
Sources checked 8 October 2026. Vendor functionality is described from primary documentation; no comparative tool test or Nightwolf client outcome is claimed. The delivery calculation is fictional. All four images are existing, independent Explore references, with no new generation or upscaling performed for this article.
FINISH WITH INTENT
The right detail.
At the right size.
Share the image, the placement and the details that matter.
Discuss your project ↗